I didn't take many pictures of my process, but this was such an easy and satisfying project, I thought you might be interested in the steps. I had seen some similar ideas around the web and on Etsy, and I was inspired to come up with my own. We're looking forward to using this fabric garland for many family birthdays to come.

1. Create a cardstock triangle template (mine was about 8 1/2" long and 6 1/2" across the top edge)
2. Lay the template on wool felt and cut around it with pinking shears (14 triangles)
3. Cut another template a bit smaller (I just cut some off of my original template)
4. Use the smaller triangle template to cut out 7 triangles from one fabric and 7 from a coordinating fabric (1/4 yard of each was plenty). I bought my wool felt and the
Heather Bailey fabric at our great local fabric store,
Home Ec Workshop.
5. Pin the fabric triangles on the felt and sew a zig zag stitch around the edge of the fabric.
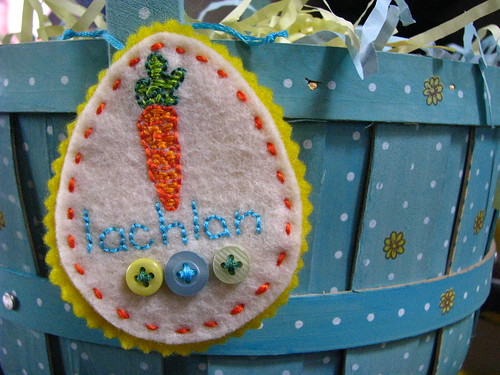
6. Type the desired letters into a Word document and print on cardstock., then cut out.
7. Place cardstock letters on wool felt and cut around to create felt letters.
8. Pin a felt letter on each triangle and hand sew it on with embroidery floss.

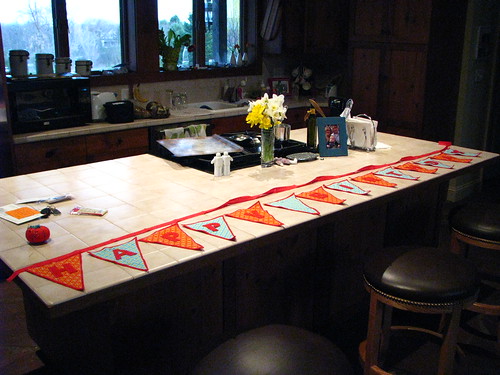
9. Lay out triangles in a row and pin single fold quilt binding along the top edges (I ironed the binding in half first to make it easier to fit the triangles into the fold), leaving at least a couple inches at each end. I used a 3 yd. package, and it was just enough.
10. Sew a zig zag stitch along the folded binding to attach it to the felt & fabric triangles.
11. Fold over the extra binding and sew it together to create a small loop for hooking over a nail to hang.

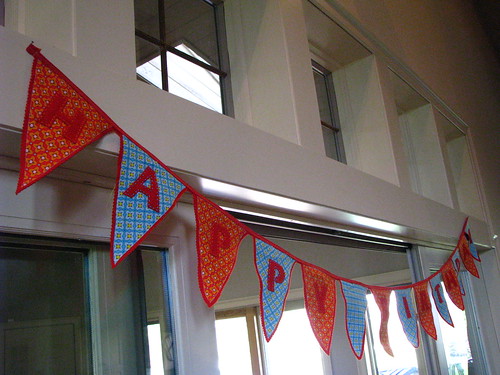
This was really fun to make and I love how it turned out. I have to say that the wool felt vs. cheap craft store felt was really worth it for this project. It's much sturdier and luxurious. I can't wait to pull this out every time we have a birthday in our home!

You can see I had a good little helper while I pounded in a couple small nails to hang the garland. This will be up for his party tomorrow afternoon and until his real first birthday on Tuesday!

Just leave me a comment if you have any questions!
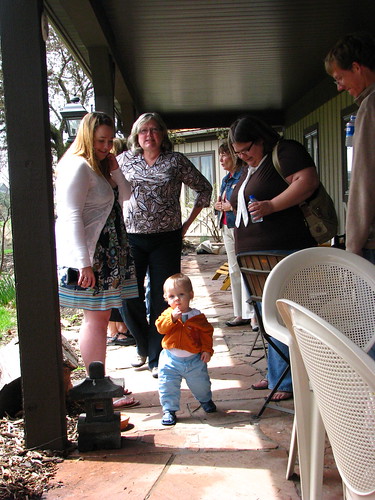 Yesterday was Lachlan's first birthday party. The day started out overcast and rainy, so we were lucky that it cleared up by lunchtime for our barbeque - we even saw some sunshine! The guests were family from both sides and L's special babysitters Amy & Deb. It was so great to have everyone together to celebrate with us.
 The dessert spread. Yum! My mom and grandmother were here Saturday to help make the cupcakes, angel food cake and farm animal cookies. Grandma O. made the krumkake on Friday.
 I decided to order his "smash" cake from Deluxe bakery. Isn't it cute? It was just a bit bigger than a cupcake with layers of vanilla cake and berries, and a whipped cream frosting.
 At first he wasn't sure what to do with the cake, especially since we moved the high chair outside and he had a big audience. He poked at it with his finger and eventually took a few bites, but mostly just played with it.
 The cake aftermath :)
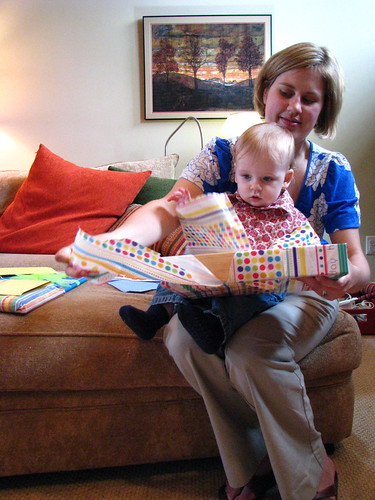 We opened presents after cake and he did a good job helping me. He hasn't sat still for this long since he started walking a few weeks ago!
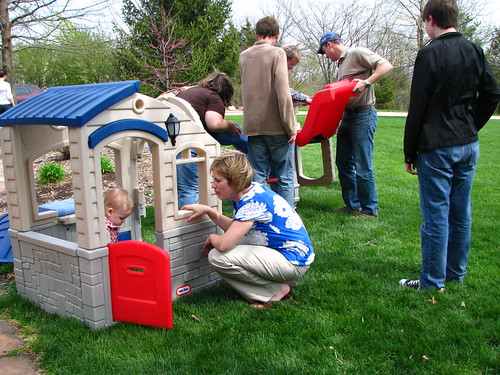 Finally, most of the guests tried to assist with putting together the playhouse that Lachlan got for a birthday gift. It was tough, requiring much brain & muscle power! Bill and I certainly couldn't have done it ourselves. I can already tell he is going to love playing in it!
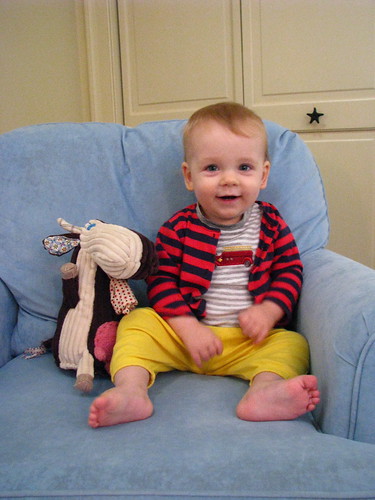
 The birthday boy (his real b-day is tomorrow) Lots more photos are on Flickr.