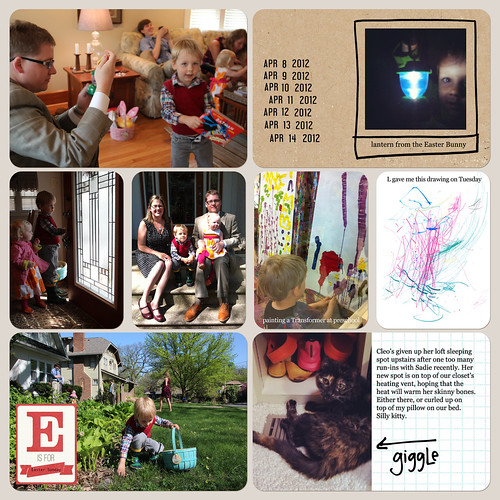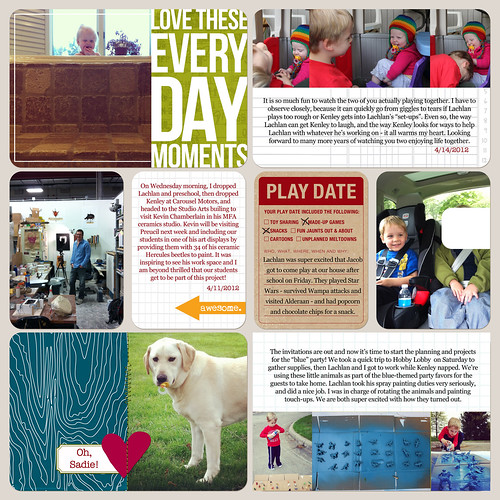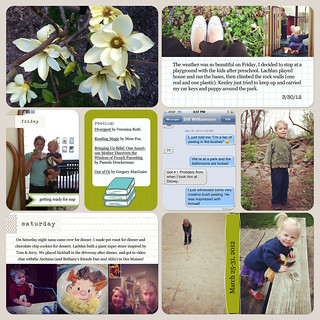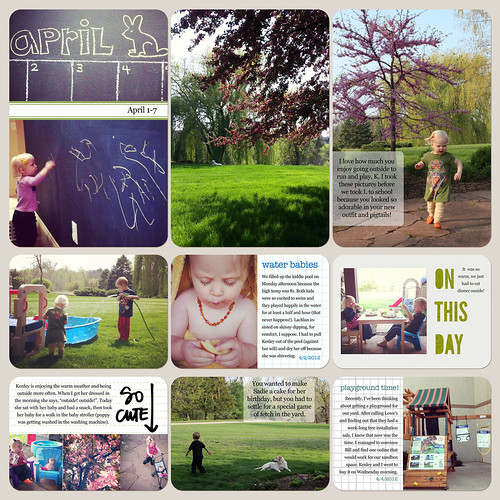
Here we are, another week gone by! I've been trying hard to make sure I finish each week of Project Life pages during the following week. I know that if I fall behind, I will not be able to catch up - and I will forget all the little details that make this project so special. This feels like one of the most valuable memory-keeping projects I have undertaken. That's why I am making it a priority. However, it is taking up most of my "hobby" time - my sewing machine is feeling lonely, I've been blogging less, and I've only made a handful of paper scrapbook pages this year. That said, I am still loving this project, and I'm so glad to be doing it digitally, because I know I wouldn't be able to keep up this well with the paper version - and I don't really want huge albums filling up our bookshelves.
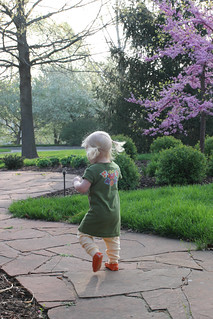
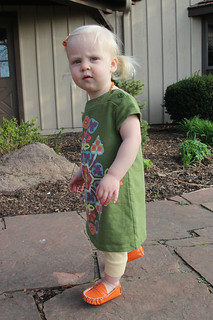
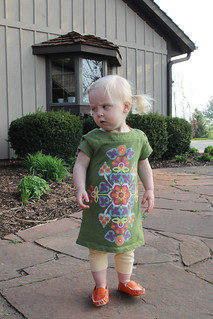
This week I used the photo technique that
Elise Blaha blogged about. I had no problem putting the shapes over the photos in PSE and making them less opaque, but when I tried to put a text box on top of the shape, it just wouldn't work. So, I added the shape, dragged the photo into the Project Life template, then put the text on top while it was in the template. That actually worked fine, just not sure why I couldn't do it over the original photo - any ideas PSE experts?
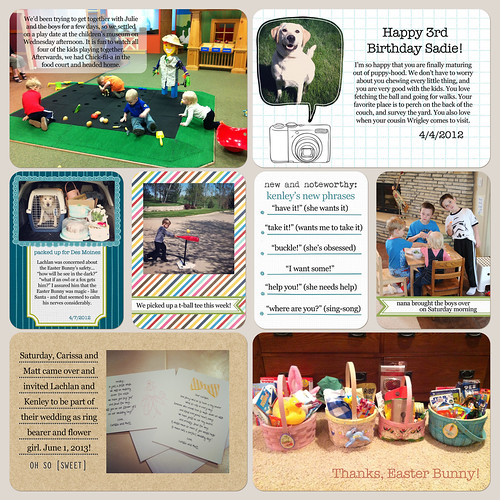
Supplies:
Project Life - The TemplatesCobalt Edition Full CollectionBanner Labels No. 1 by Katie PertietEveryday Papers by Robyn MeierottoCut it Out Frame Cards by Robyn MeierottoSplendid Fiins
Eclectic foto frames ,
List Journaling cards ,
Camera Love cardsPhoto Journalers V.1So Totally Happy Brushes by Ali Edwards (the "so cute" w/ arrow)
