Tuesday, September 06, 2011
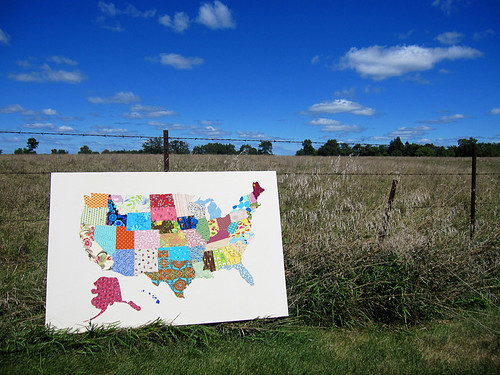
The Map
This is probably in my top 10 favorite things I have ever made. It all started with this pin on Pinterest. Original map is by See Kate Sew, with a nice tutorial here. I loved the look of this fabric map and had been looking for a large art idea to hang in our great room.
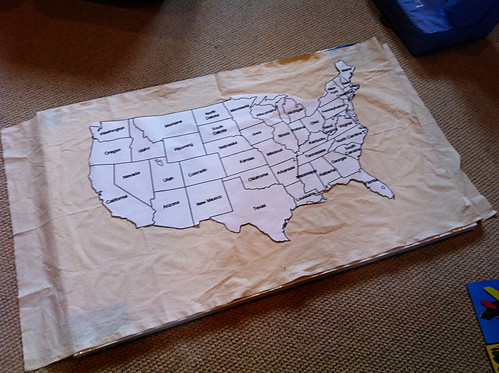
I'm not posting a full tutorial or anything, but I will share my basic process:
1. find USA map outline via google
2. take map to copy center to be enlarged (I told them the final width I wanted in inches and they figured out the enlargement %)
3. buy 40" x 60" stretched canvas
4. make sure the size of the map will work for the canvas size
5. cut apart all the paper states
6. collect 50 different fabrics for the states (all from my fabric scrap stash)
7. iron fusible interfacing on the back of the fabric scraps
8. cut out each state from a different piece of interface-backed fabric.
9. iron states onto a large piece of muslin fabric (I started with California and worked my way east, puzzle-style)
10. hand-stitch around the inside edge of each state. I did this to make the fabric states more secure, add texture, and also to tie the design together with a single color of embroidery floss. It did take longer to hand-stitch than it would have to machine-stitch them, but I think it was easier. Also, it added to the rustic/folk art style I was going for.
11. iron the entire piece again, then stretch and staple (using a staple gun) the muslin around the canvas
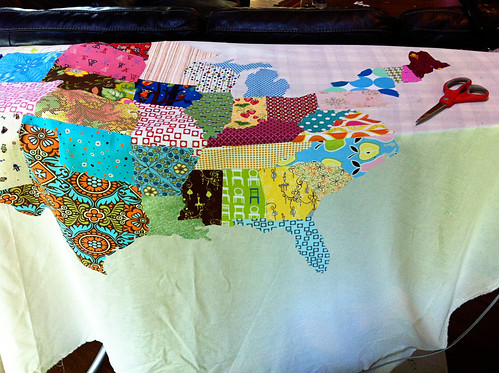
A few things -
- The canvas was much more expensive than I anticipated, but I got it when they were running a sale at the art store, so that helped.
- On the other hand, the fabric pieces were all free, since they all came from my fabric stash left over from other projects. I love seeing them all together on the wall because they remind me of the other handmade things they are part of.
- I started hand-stitching the states while the muslin was stretched in a large embroidery hoop, but eventually left the hoop behind and just held the fabric loosely while I made the running stitches.
- The final stretched piece has some wrinkly/puckered spots that I think are due to some funky tension while I was ironing and sewing the states (see lack of hoop, above). I'm trying not to let it bother me, but I wish the background was perfectly smooth.
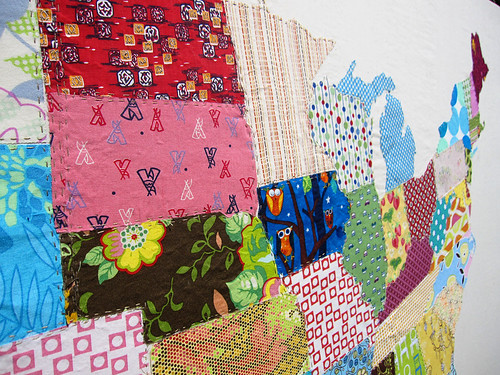
Here is the corner that needed a new art piece, something more substantial, before:
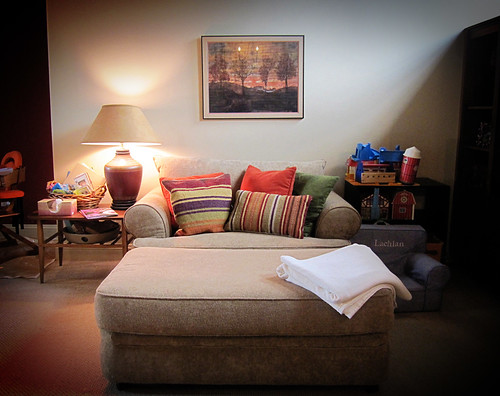
And the same spot (plus my newly spray painted table!), after:
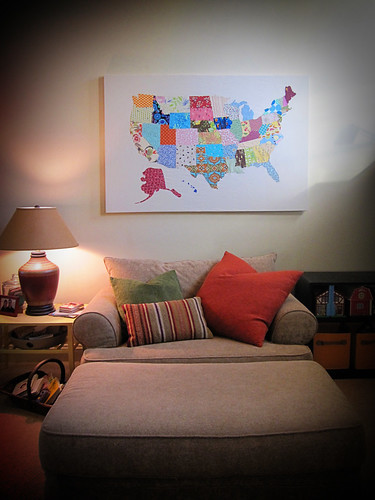
So, yeah. It was a big project that took me months to complete (working in small chunks, of course). That said, I am super happy with the finished product and look forward to living with it for many years to come.
Sunday, September 04, 2011
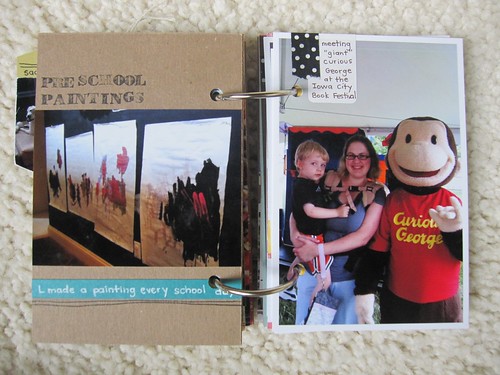
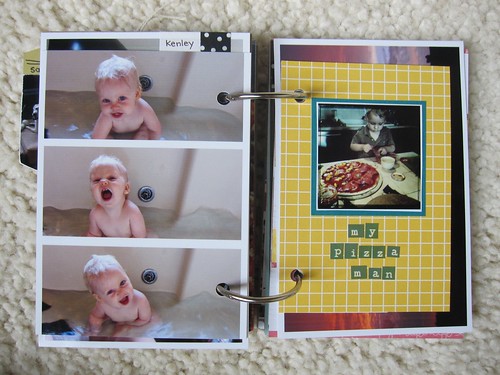
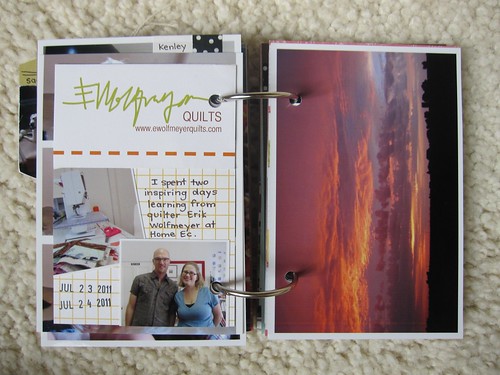
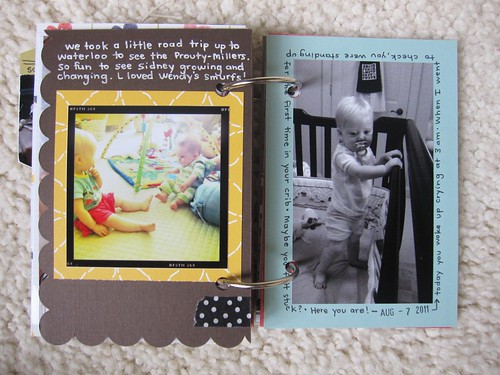
Summer mini-album 2011: done and done.
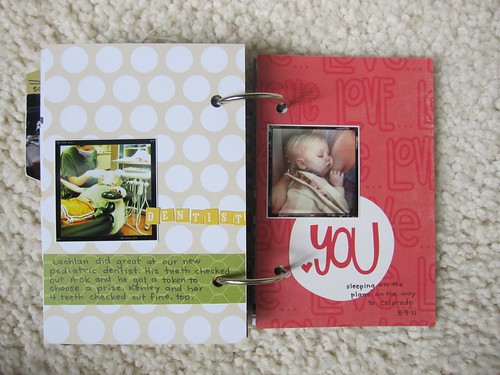
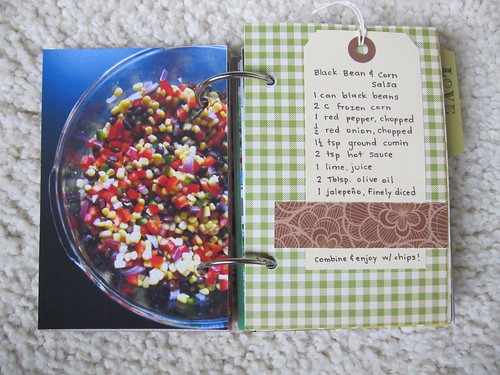
Yay, another great capture of our lives right now. I enjoy the 4x6" mini-album size because I can just stick a photo in as a whole page, or have some fun with smaller photos and embellishments.
I picked up a pack of summer book add-on pages from Elise Joy (they're gone now but she has a pretty autumn book for sale).
I hadn't updated it since mid-July, so most of the pages are very simple - photos, lots of tiny letter stickers, and a few handwritten memories.
Love the combo of little daily moments and special summer adventures that are captured here.
This spread with the polka dots and Hipstamatic photos is my probably my favorite.
My post about the first half of the album has more links to my supplies, including the letterpress calendar pages.
I ended the album with photos from our trip to the Iowa State Fair. Even though we still had some hot summery days here right up until yesterday, the fair trip seemed like the end of the season for us.
In the end I had to add larger binder rings and it's a nice fat mini-album size.
Saturday, September 03, 2011
Week In The Life Album - July 2011
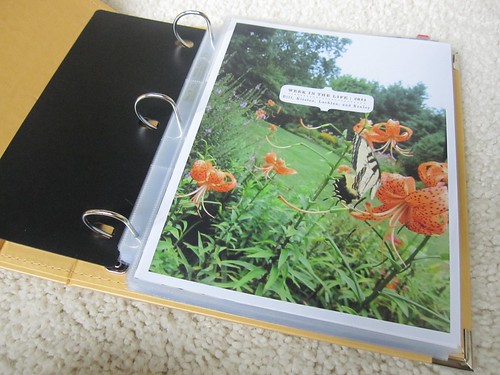
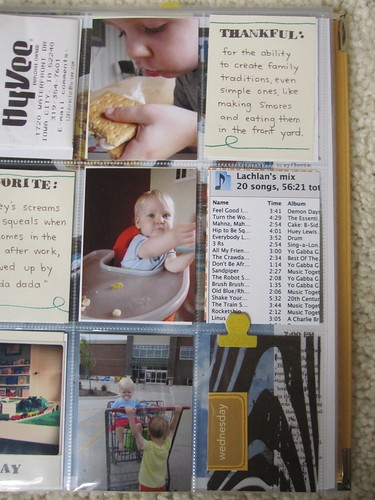
Finally finished my week in the life album! I've had the 8 1/2" x 11" photo pages for a couple weeks now, but just found time this afternoon to put it all together.
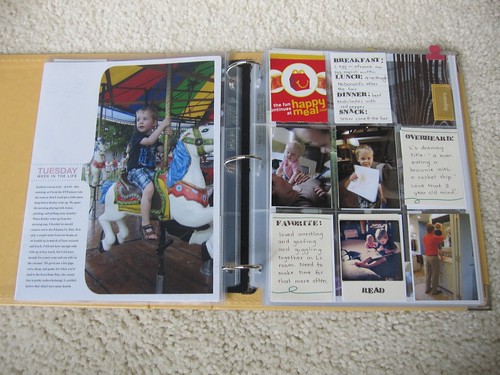
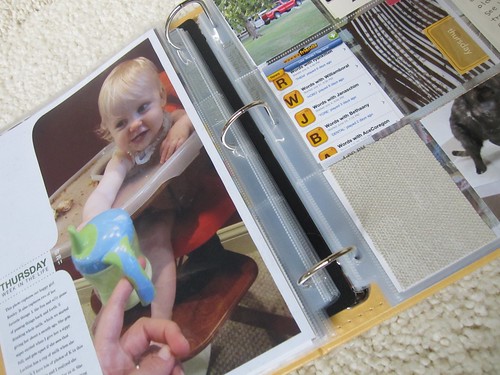
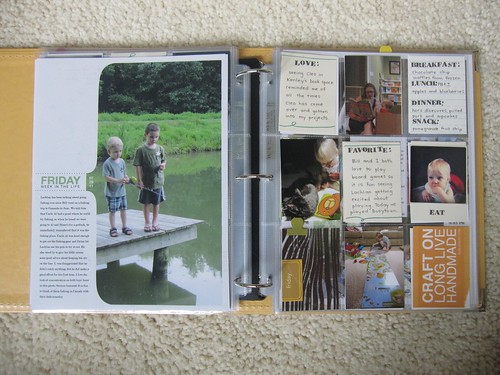
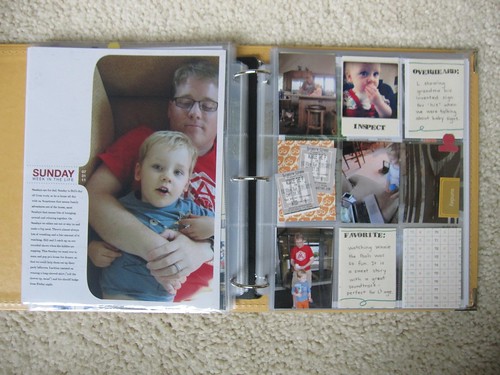
I just love this project. I used a WER Memory Keepers album and the divided page protectors for the journaling cards/small photos/daily ephemera.
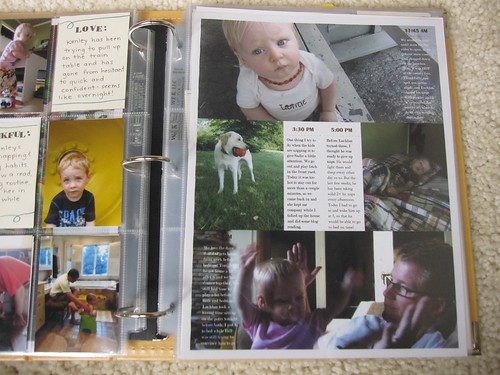
I did like how Ali ended up putting her journaling directly on her photos, but for some of my photos, it worked better to have the text in the white space alongside. It is great how flexible the digital templates can be for changing up the design of a page.
I made my own journaling cards with ivory cardstock + stamped titles + embossed line details (I used a Zig Emboss Pen and Zing Powder in Teal). Each day of the week had 4 cards - Love, Overheard, Favorite, and Thankful. I also made a card for each day listing our meals, and a card featuring a square Hipstamatic photo and a stamped word to describe that photo. Each divided page protector also contains a piece of a Hambly overlay with a sticker that says the day of the week. I like being able to see through to the next page and have that design carry through the book. Another idea I took straight from Ali.
I added in some other things like receipts, print-outs of text messages and other phone screenshots, and in the photo above you can see a piece of our family room wallpaper that was torn down that day. Along with the stories from the week, these are the things I would have forgotten all about a few weeks later - I'm sure it will be fun to look back at them in the future!
I added a digital patterned paper in the background of the digital pages and took the opacity down to 30 or 40% to keep it subtle. If I could do it again I would bump the pattern up a little because it is hardly noticeable.
Ali mentioned that next time she does this project she might do it completely digitally and have it printed in book form. I definitely see the appeal in that, since I did do lots of rewriting and rearranging that could have been streamlined if it was all typed. On the other hand, I do love the little bits of life that fit into the divided page protectors. We'll see - I could actually fit at least one more week's worth of pages in this album, so maybe I'll try the same week in July in the same format next year.
On the last page I put a small photo from each day and a brief summary of the project. I'm so glad I took the time to collect all the photos and stories and then stick with it until everything was pulled together.
Subscribe to:
Posts (Atom)