 1. Create a cardstock triangle template (mine was about 8 1/2" long and 6 1/2" across the top edge)
2. Lay the template on wool felt and cut around it with pinking shears (14 triangles)
3. Cut another template a bit smaller (I just cut some off of my original template)
4. Use the smaller triangle template to cut out 7 triangles from one fabric and 7 from a coordinating fabric (1/4 yard of each was plenty). I bought my wool felt and the Heather Bailey fabric at our great local fabric store, Home Ec Workshop.
5. Pin the fabric triangles on the felt and sew a zig zag stitch around the edge of the fabric.
6. Type the desired letters into a Word document and print on cardstock., then cut out.
7. Place cardstock letters on wool felt and cut around to create felt letters.
8. Pin a felt letter on each triangle and hand sew it on with embroidery floss.
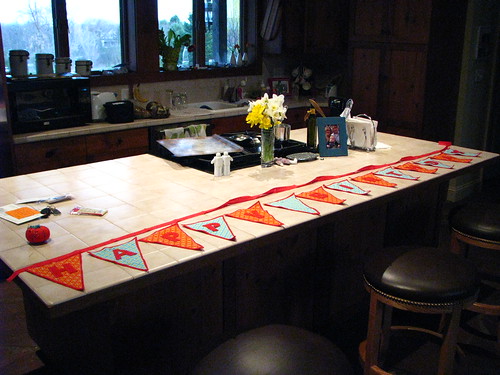 9. Lay out triangles in a row and pin single fold quilt binding along the top edges (I ironed the binding in half first to make it easier to fit the triangles into the fold), leaving at least a couple inches at each end. I used a 3 yd. package, and it was just enough.
10. Sew a zig zag stitch along the folded binding to attach it to the felt & fabric triangles.
11. Fold over the extra binding and sew it together to create a small loop for hooking over a nail to hang.
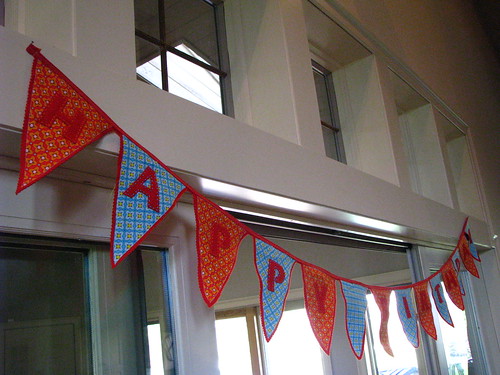 This was really fun to make and I love how it turned out. I have to say that the wool felt vs. cheap craft store felt was really worth it for this project. It's much sturdier and luxurious. I can't wait to pull this out every time we have a birthday in our home!
 You can see I had a good little helper while I pounded in a couple small nails to hang the garland. This will be up for his party tomorrow afternoon and until his real first birthday on Tuesday!
 Just leave me a comment if you have any questions!
that is really cool! I don't have time to do it for this year (Mara's party is tomorrow), but I should put it on my list of things to do for next year!!
ReplyDeleteI soooooo love this banner and look at that cute little Lachlan in the right hand corner!!! :)
ReplyDeleteThis comment has been removed by a blog administrator.
ReplyDeleteOh, my gosh, how cute is that?! Love it!
ReplyDeleteClicked on you from BBC. :)
Very talented. Came out gorgeous and the color combos are great! Rita @ TesoroFino.com
ReplyDeleteAwesome idea, thanks for sharing. I've been planning to make a felt banner of my Etsy shop name for use at craft fairs and have even purchased the felt.
ReplyDeleteBut I couldn't find stencils large enough and feared making the letters look like I had my 5-year-old nephew cut them out.
I love your idea of printing the letters on cardstock through Word. And, of course, am suffering from a bit o' the "Why didn't I think of that?"
http://BrigaBauble.etsy.com
Thanks for the tutorial. I used it to make a banner for my two kids. I blogged about it here http://craftsredesigned.blogspot.com/2010/01/birthday-banner.html Thanks for putting the tutorial up on the web so I could find it and make one for my kids.
ReplyDeletethis is adorable! thanks for sharing. :)
ReplyDeleteAwesome blog youu have here
ReplyDelete